My Team – Settings
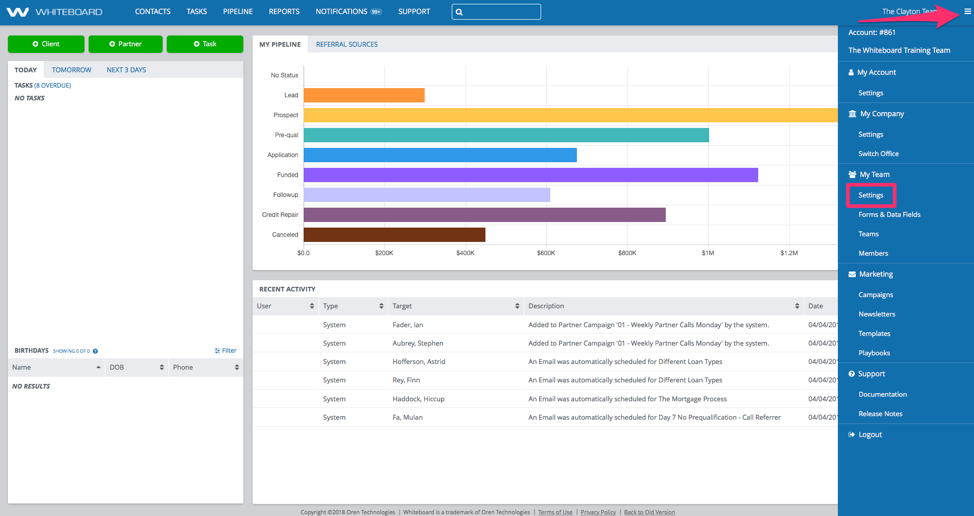
You can access Team Settings by clicking the three-bar menu in the upper right corner next to the team name. Click on Settings in the My Team area to access your team’s roles, assets, lead sources, and more.
My Team Tab

This tab contains controls that let you add, edit or remove team members and add, edit, and remove roles, as well as showing you a list of all the currently active team members and roles that exist. If you have a large number of team members or roles, you can use the search fields to easily filter what you’re looking for.
You can click the Add a New Team Member button in the upper left to add any user with a license that currently exists in your Whiteboard Office to your team. This works well if you have shared staff between teams.
If you need to add a new license to your team for someone that doesn’t exist on your office yet, please email accounts@whiteboard.software or call 866-333-6311 and we can get you taken care of!
My Team Column
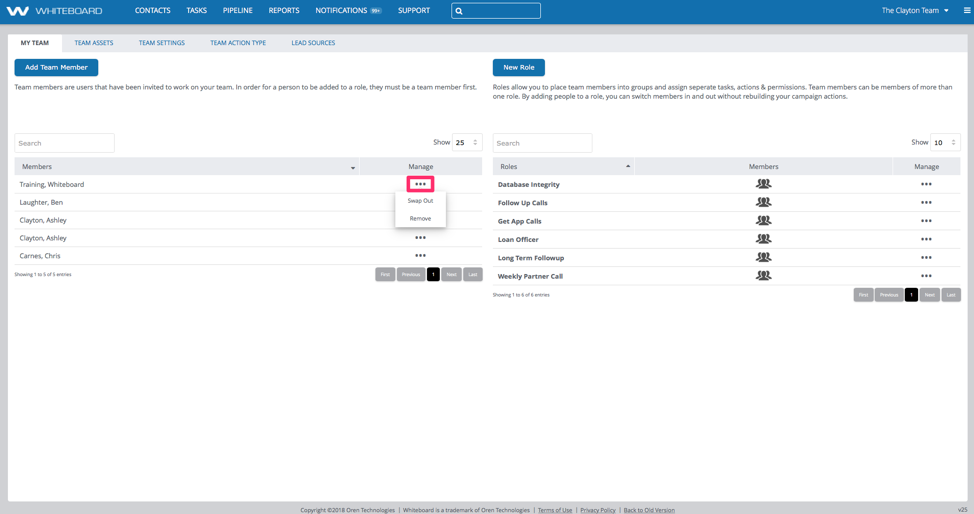
By clicking on the three-dot menu in the Members column on the left, you can swap out team members from an existing list of licensed users from your office or remove them from your team completely.
Roles Column

Each team member can be assigned to one or more roles which dictate what sort of tasks will show up in their daily task list as well as what they can and cannot access within your Whiteboard environment.
The Mortgage Playbook™ comes with the above set of pre-configured roles. You can create your own roles by clicking the New Role button at the top and completing the information, including defining the permissions tied to that role.
Click on the three-dot menu to View who is currently assigned to that role and manage the users associated with the role. You can also Edit the role’s name, description, and permissions as well.
It’s important never to delete anything from your Whiteboard environment since many of those elements are critical to your playbook working correctly. Most things can be disabled if you don’t want or need them. Please consult with support@whiteboard.software or call 866-333-6311 if you feel you need to delete something.
Editing Role Permissions
To edit permissions associated with a specific role, click the three-dot menu next to the role and choose Edit from the menu.

A box will pop up with a series of checkboxes that allow you to turn on or off a permission for the role you selected. Uncheck the boxes for the permissions you want to remove and click Save to retain your changes.
Team Assets Tab
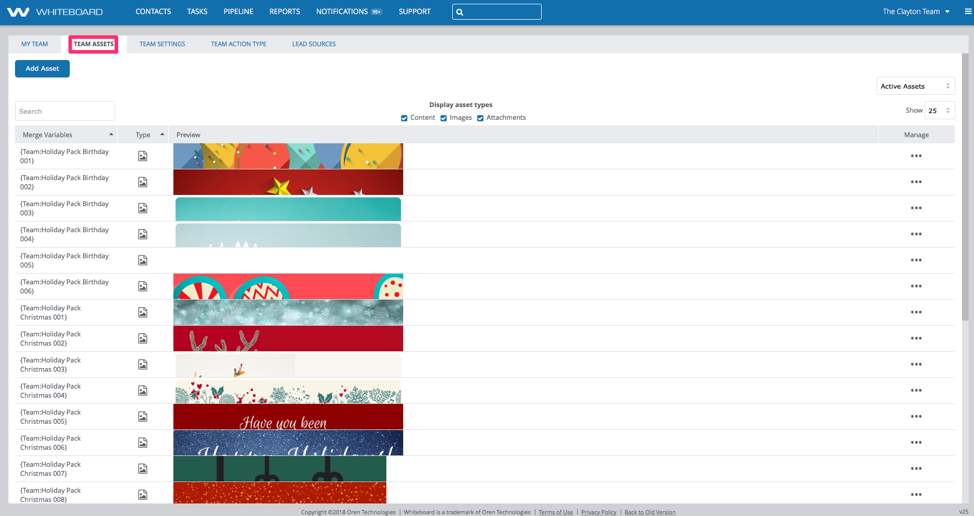
This tab contains a list of all the image, content, and attachment-type assets that exist on your team. Assets are pieces of content that you can use in templates, like your office or team logo, eSignature, etc. You can use checkboxes near the top of the tab to filter out various asset types, use the dropdown menu to switch between “active” and “missing” assets, or use the search field to find a specific asset. Clicking on an asset will expand the row, letting you preview the entire asset.

Clicking the three-dot menu will allow you to Edit the asset if you need to swap out an image or update text or an attachment.
Don’t delete any assets because you could break campaigns. Please contact support@whiteboard.software or call 866-333-6311 if you need help replacing existing assets.
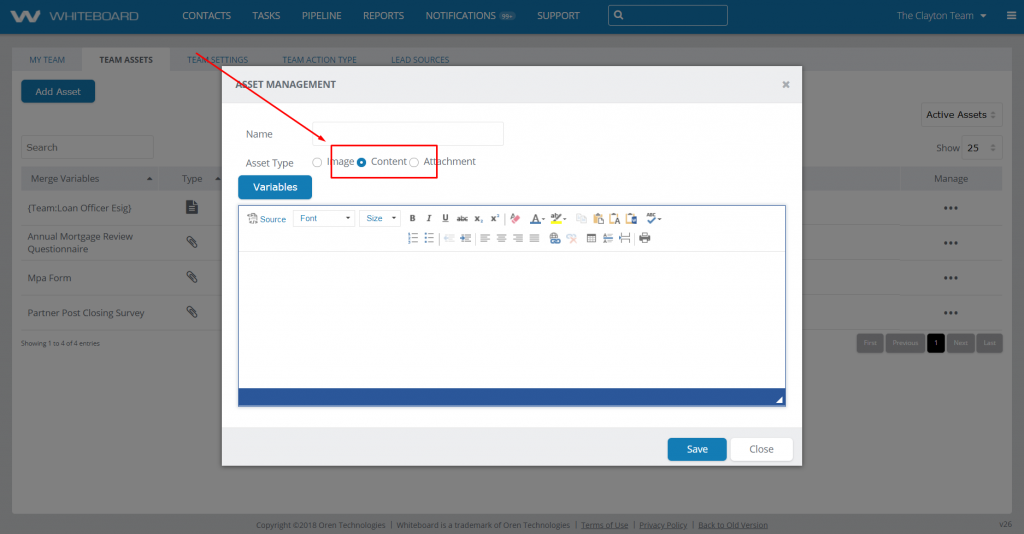
Add Asset – Image
 To add an image asset, click on the Add Asset button in the upper-left corner. Give your file a name that will help you identify it later and choose the Image radio button option.
Click the Upload button and locate the file on your computer. Once Whiteboard uploads the image, you’ll be able to use the Scale Image slider to adjust the size of the image. Clicking on Advanced gives you pixel-specific control over the scaling. Click Save when done to add the new image asset to your collection.
Add Asset – Content
When you select the Content Asset radio button, a text editor will appear, just like editing content templates. Type or copy and paste the text you want into the editor and click Save to finish creating the asset.
Add Asset – Attachment

- Select the Attachment radio button
- Select Upload and browse to the file’s location on your computer (Whiteboard supports the following file types: .jpg,.jpeg,.gif,.png,.pdf.). Once the file is uploaded, hit Save to finish creating the asset.
Team Settings Tab

Your Team Settings tab allows you to control various team settings like which email addresses are used for templates, daily contact blackout timers, and your team’s timezone.
Team Email

- Your Team Email Display Name is how your team name will display in the “From” field of your email subject lines.
- The Team Email drop-down sets the displayed name and address that are used when sending campaign actions from the Team Email option.
Loan Officer Email

- Your Loan Officer Email Display Name is how your name will display in the “From” field of your email subject lines.
- The Loan Officer Email drop-down sets the displayed name and address that are used when sending campaign actions from the Loan Officer Email option.
Team Time Zone

- Use your Team Time Zone to set the timezone for your team. This controls when blackout times and campaign actions will occur.
- Navigate to the Time Zone drop-down to set your preferred time zone. Whiteboard is located in US/Central Standard Time, so that will be the default setting when you first login.
Auto-Contact Blackout Period
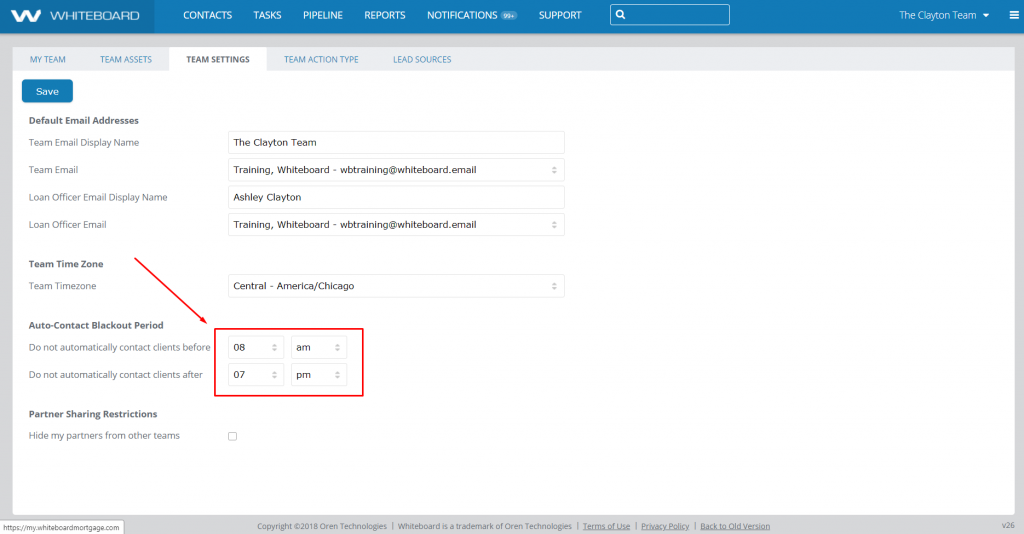
This drop-down controls when Whiteboard can send out emails and newsletters.
A real person probably wouldn’t send an email at 2am, so Whiteboard doesn’t either. You can select your personal contact preference using the timer drop down.
Select the blue save button after making any changes to apply them.
Blackout periods can delay emails to the next following day – even longer if a campaign action is set to weekend delivery.
Partner Sharing Restrictions
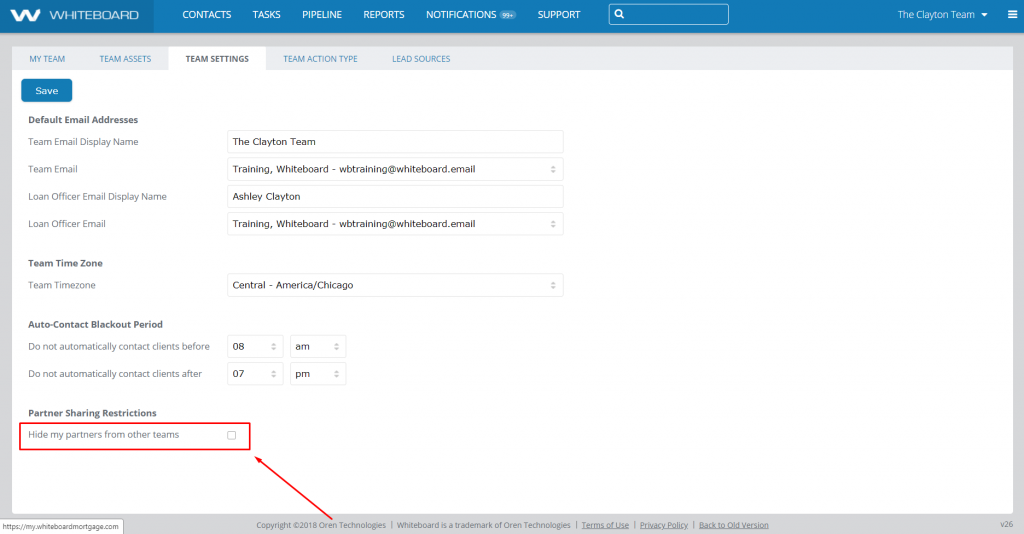
The hide my partners from other teams check-box hides partners that are claimed by that team from being visible to other teams within the office environment. Usually, teams in the same office will be able to see and associate partners from other teams with their loans.
You can prevent this from happening by checking to “hide my partners from other teams” and selecting the blue save button. This will “wall off” you off from the rest of your team from being able to see or use your partners, and from being able to see or use their partners.
Team Action Type Tab
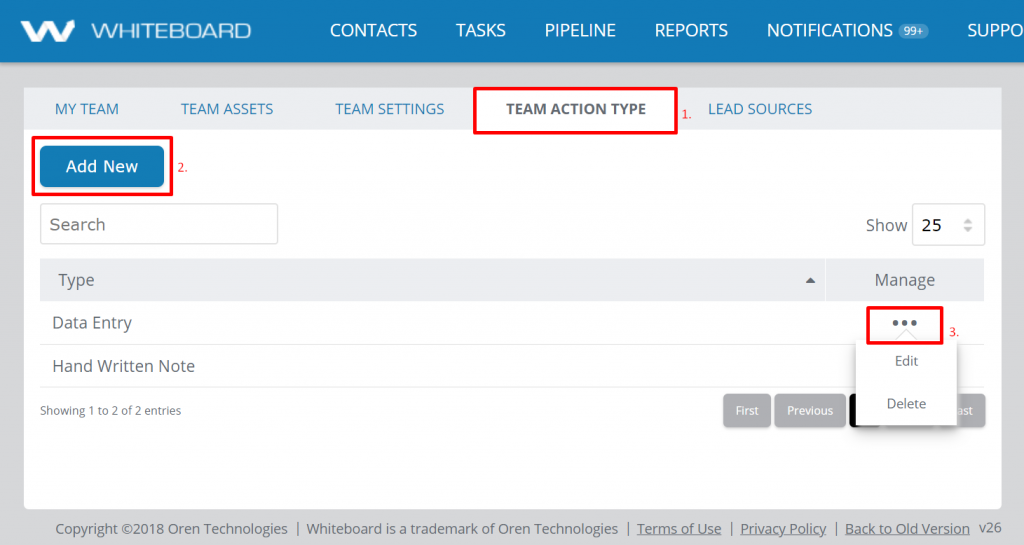
- Your Team Action Type tab displays what action types are available on the team level (including any new or custom action types you may have created).
- Add New action type by selecting this blue tab in the upper left hand corner.
- To edit or delete an action type, use the three-dot menu to the right of the item row.
Lead Sources Tab

The Lead Sources tab allows you to create and manage 3rd party import tokens. These tokens let Whiteboard import data from external lead sources.